In Microsoft Dynamics 365 Business Central, blanket purchase orders (BPOs) and blanket sales orders (BSOs) are essential tools for managing long-term agreements with vendors and customers, respectively. This guide will walk you through the process of setting up and utilizing blanket purchase orders for successive purchases. By the end, you’ll understand how to create BPOs, generate purchase orders from them, and manage the quantities and deliveries effectively.
A blanket order is typically made when a customer has committed to purchasing large quantities that are to be delivered in several smaller shipments over a certain period of time. Often blanket orders cover only one item with predetermined delivery dates. The main reason for using a blanket order rather than a sales order is that quantities entered on a blanket order don’t affect item availability and thus can be used as a worksheet for monitoring, forecasting, and planning purposes.
Business Scenario: A client using Microsoft Dynamics Business Central wants to raise an invoice to a customer every month where he would bill some specific items and services in the invoice. There should be the flexibility to add or modify items, change the price etc. Considering the fast paced industry, the client doesn’t want to create the invoice and add items every month manually.
Introduction
Blanket purchase orders allow businesses to establish a framework for ongoing purchases with a vendor. This is particularly useful for items that are ordered frequently in varying quantities over a period of time. Instead of creating individual purchase orders for each transaction, a BPO simplifies the process by providing a single reference point for all subsequent orders.
Steps to Create and Use Blanket Purchase Orders
Step 1: Create a Blanket Purchase Order
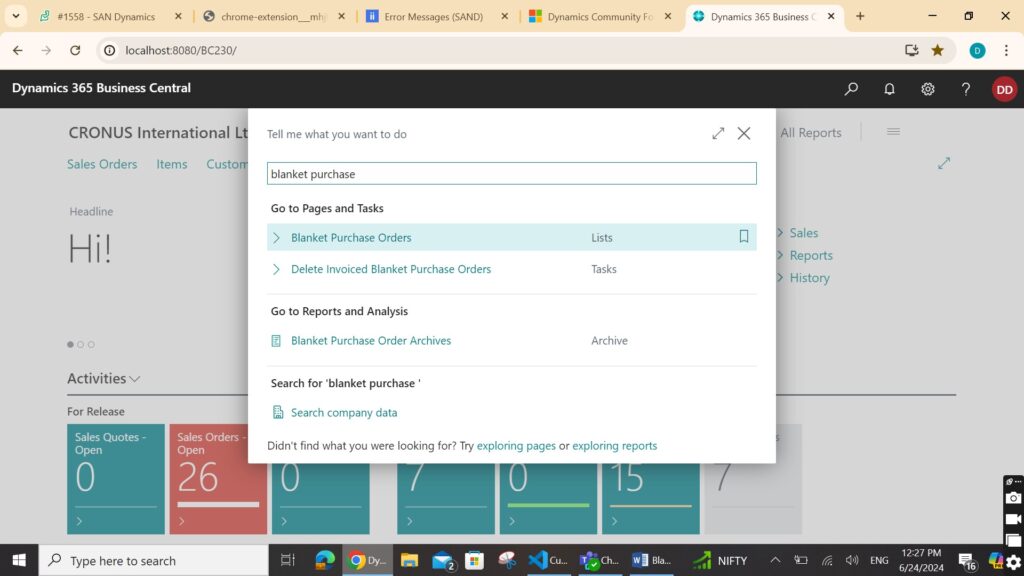
1. Use the search icon and enter “Blanket Purchase Orders,” then select the related link.
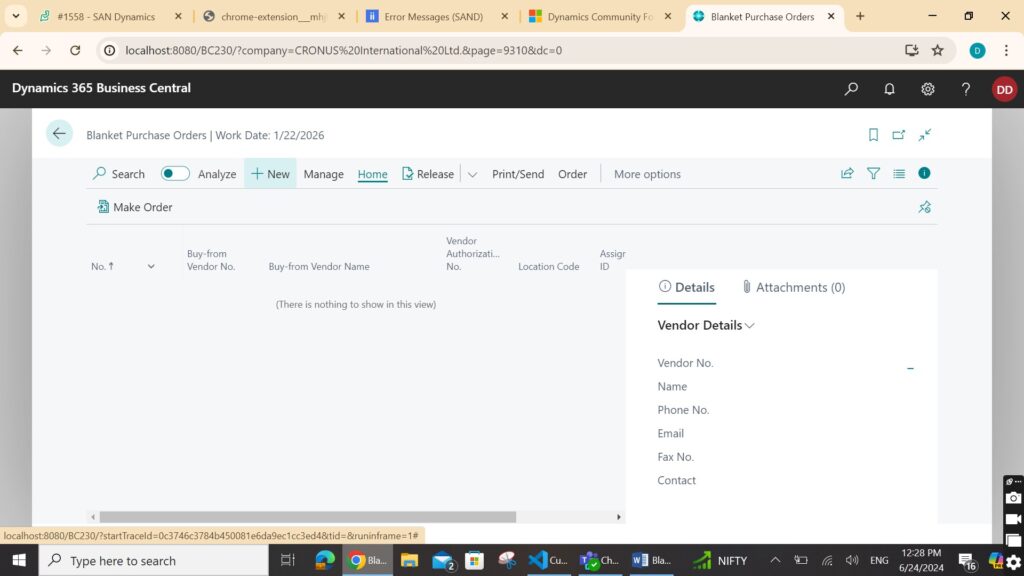
2. Click on the “New” action to create a new BPO.
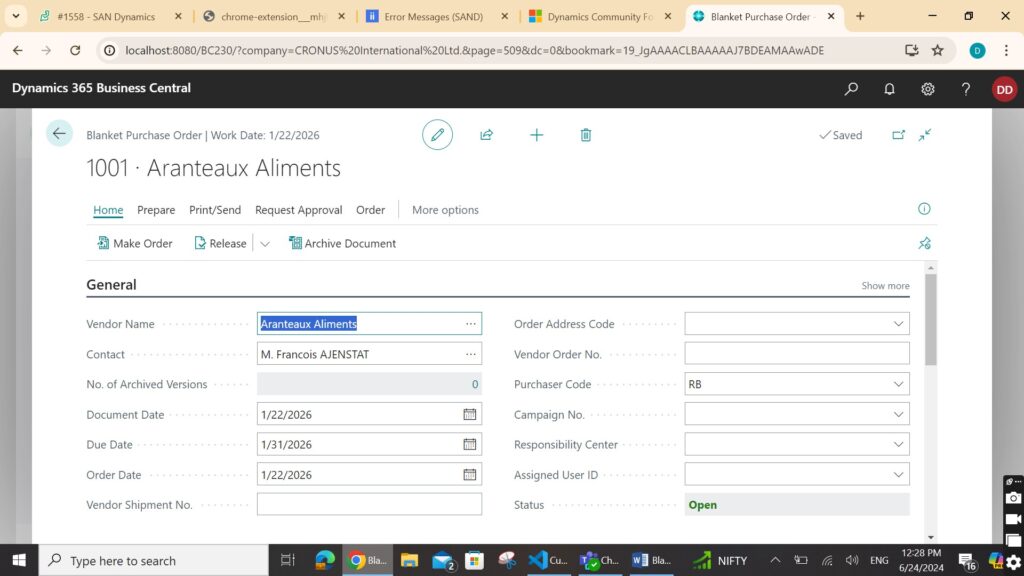
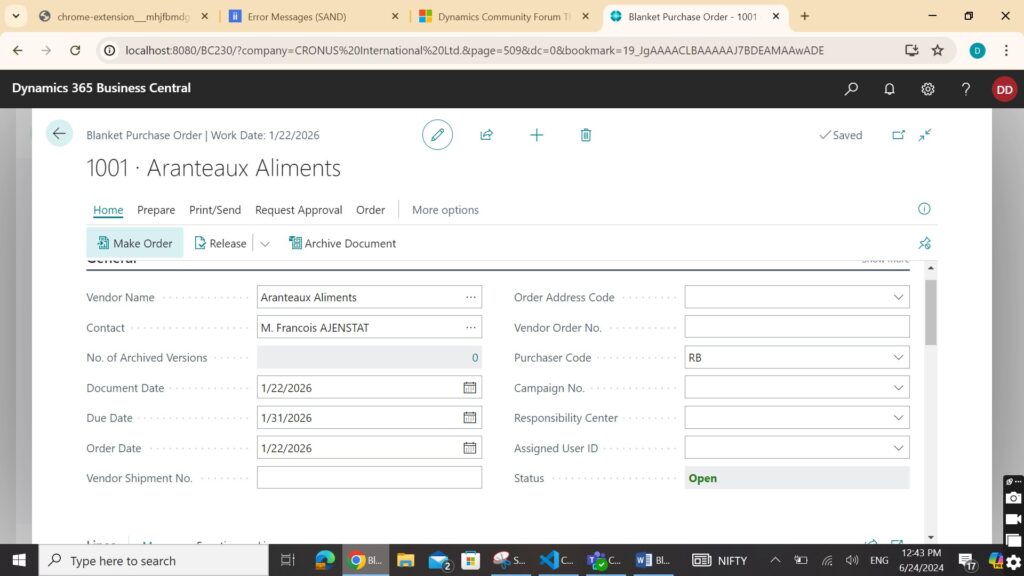
3. Fill in the necessary fields such as vendor number, order date, and any other relevant information in the header.
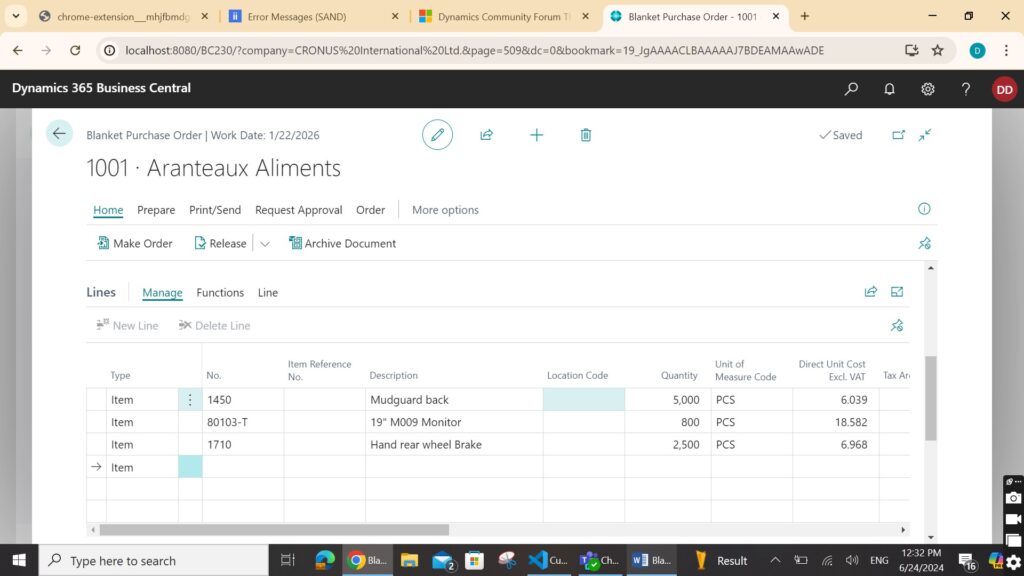
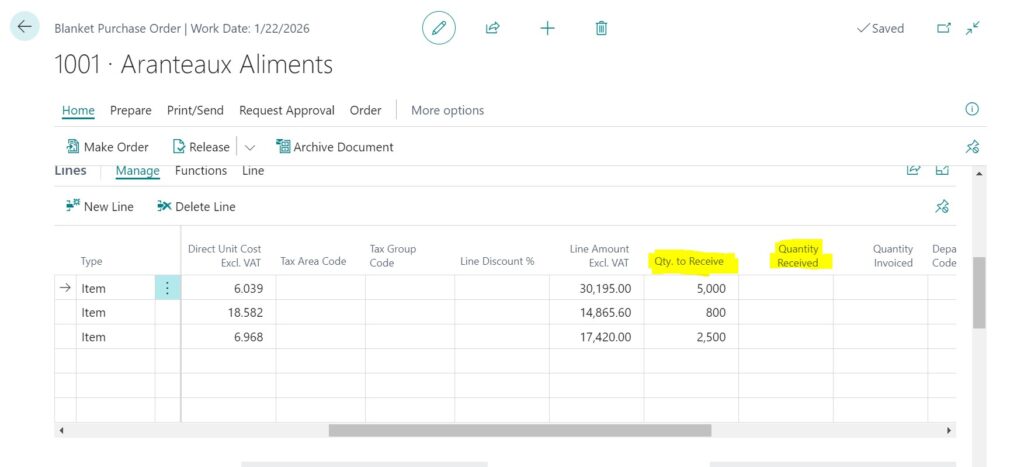
4. On the Lines FastTab, enter the items, quantities, and agreed-upon delivery dates. For example, if you have an agreement for 8,000 units of lamps and 250 units of monitor, enter these as separate lines with their respective quantities and delivery dates.
Step 2: Manage Quantities and Dates
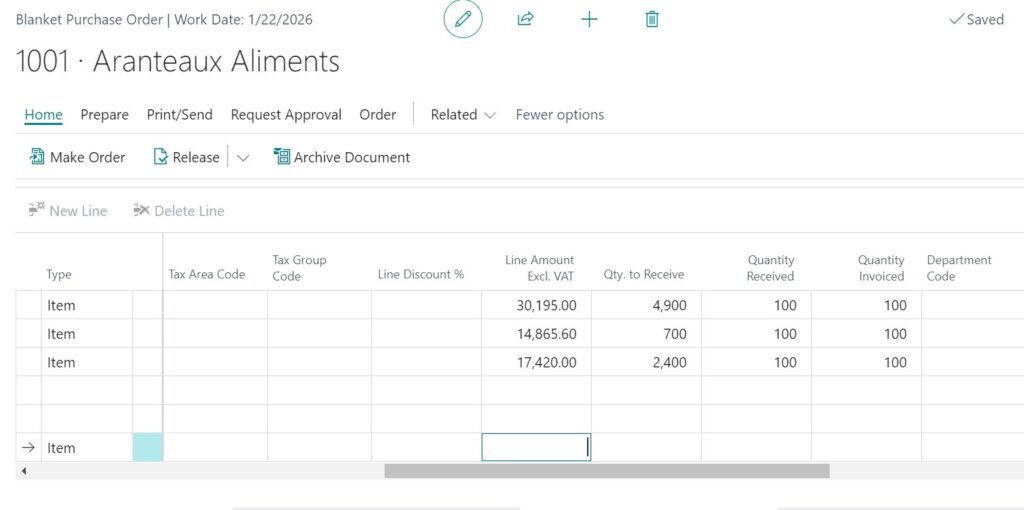
1. Set Quantities to Receive
• Initially, set the quantity to receive as the total amount agreed upon with the vendor.
• Leave the quantity received as zero.
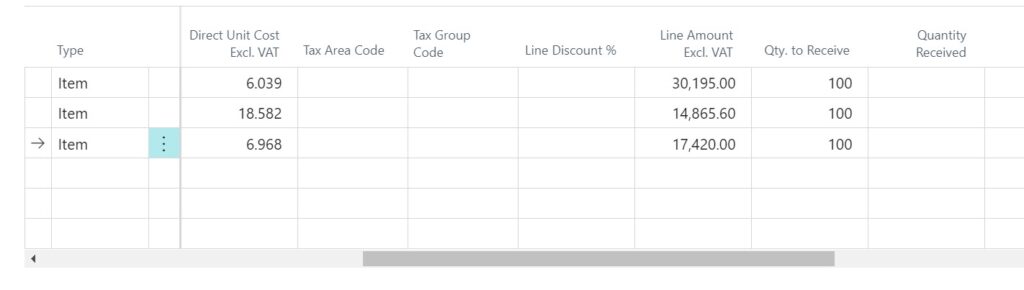
2. Update Quantities for Specific Orders
• When you are ready to place an order for a portion of the agreed quantity, update the quantity to receive.
• For instance, if you decide to order 100 units now, update the quantity for this order and set the delivery date.
Step 3: Create Purchase Orders from Blanket Purchase Orders
1. Generate a Purchase Order
• Select the line item for which you want to create a purchase order.
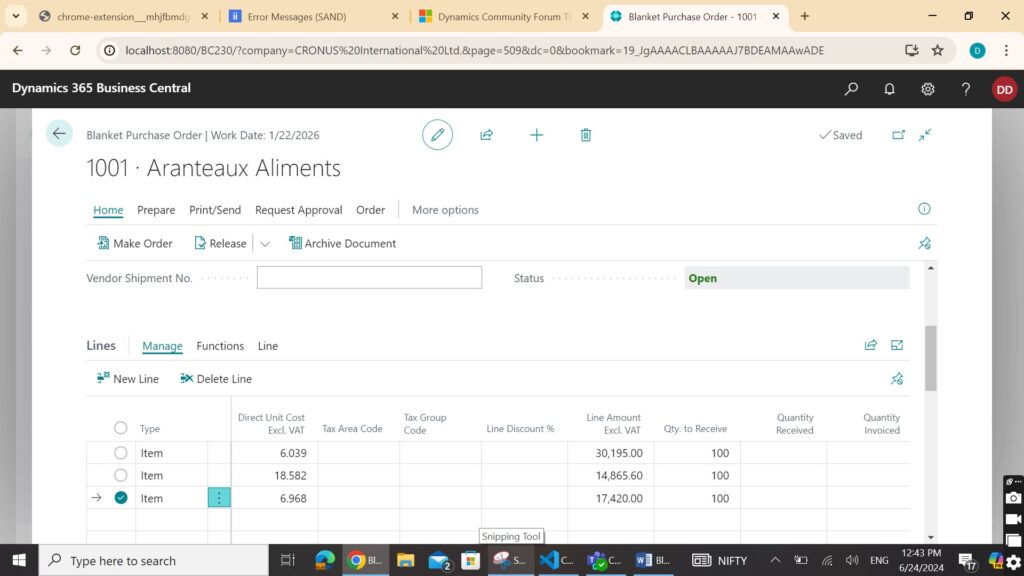
• Click “Process,” then “Make Order.”
• Confirm the creation of the purchase order when prompted.

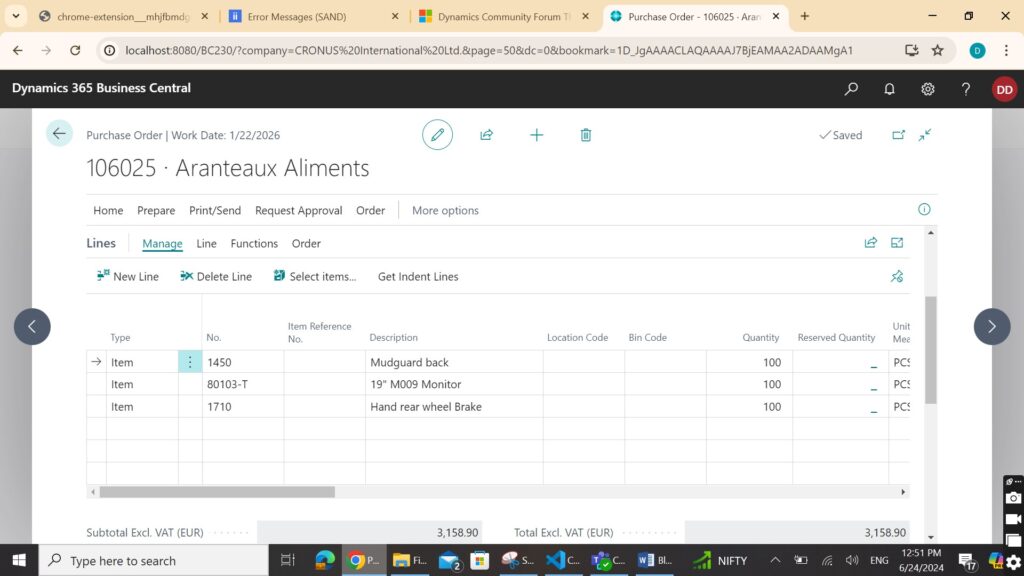
2. Review the Purchase Order
• Navigate to the purchase order list to find the newly created order.
• Open the purchase order to verify the details.
Step 4: Post and Receive Goods
1. Post the Purchase Order
• Once the goods are received, post the purchase order to update the inventory.
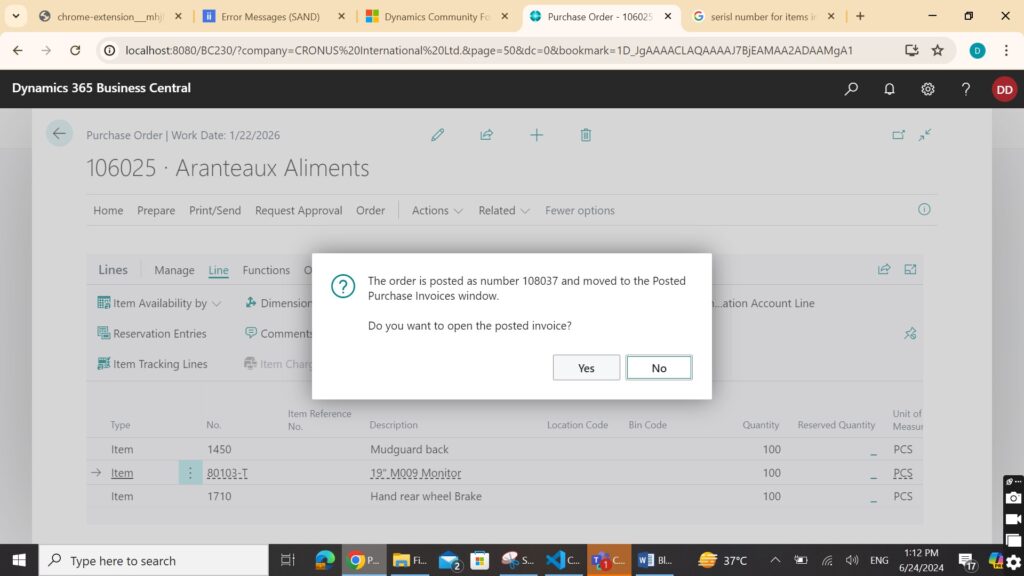
• This action will also update the blanket purchase order with the quantities received.
2. Update Blanket Purchase Order
• The quantity to receive on the BPO will now reflect the remaining amount.
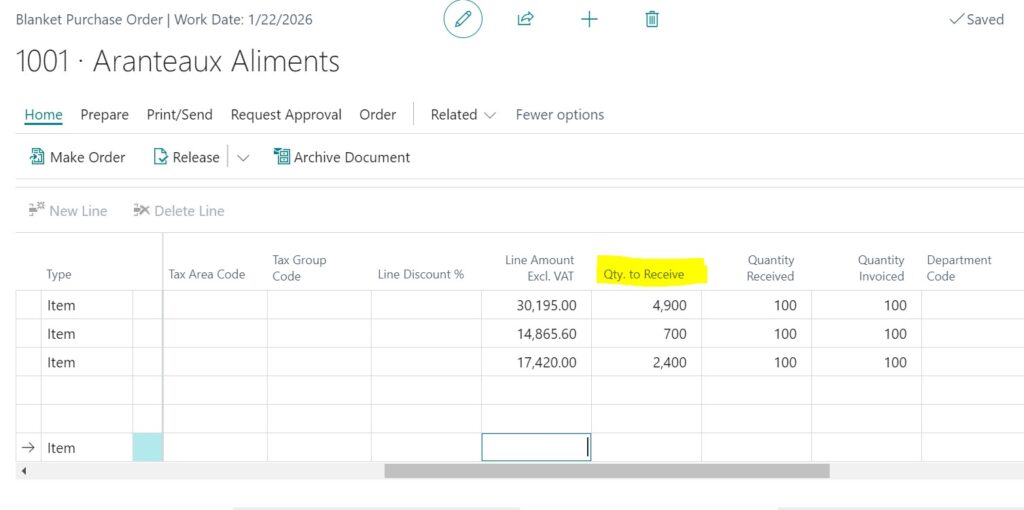
• Continue this process for subsequent orders until the full quantity is received.
Using Blanket Sales Orders
Blanket sales orders follow a similar process but are used for agreements with customers. Here’s a brief overview of how to manage BSOs:
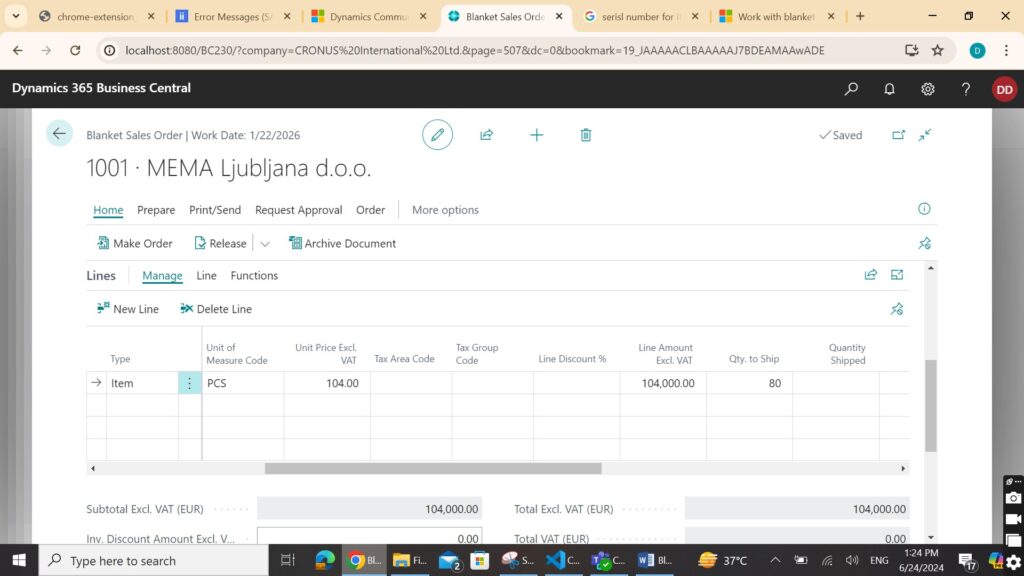
Step 1: Create a Blanket Sales Order
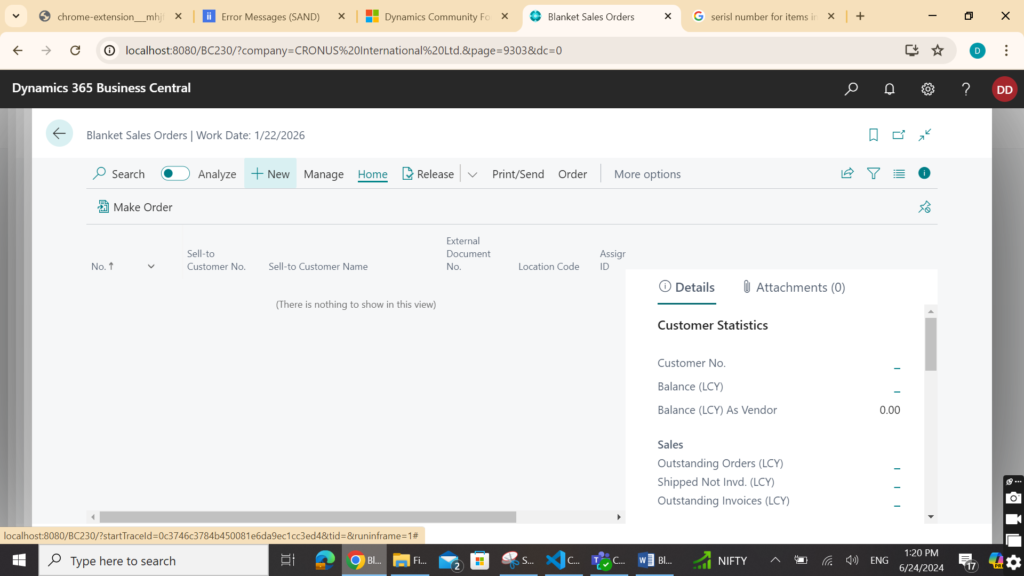
1. Search for “Blanket Sales Orders” and select the related link.
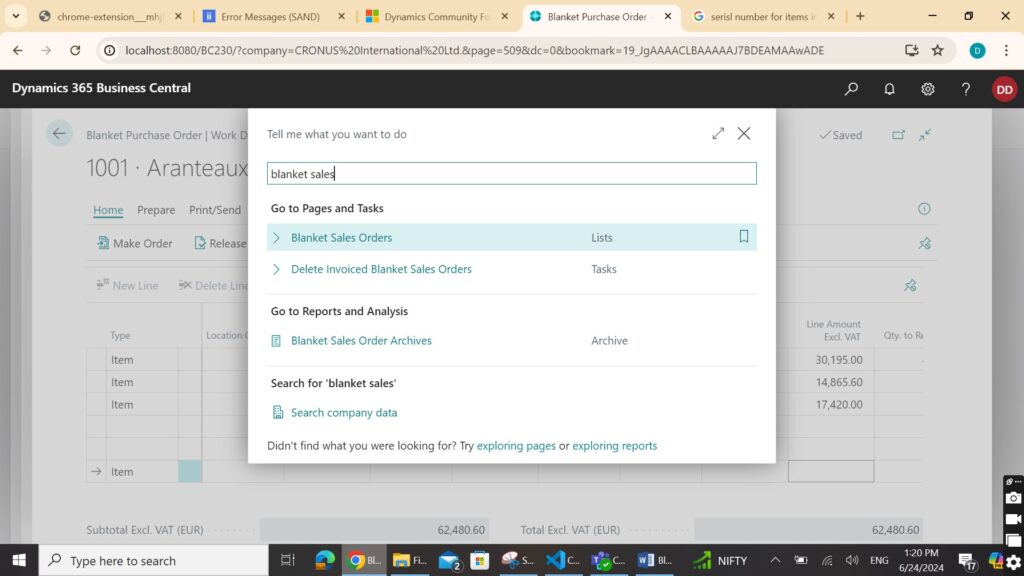
2. Click “New” to create a BSO.
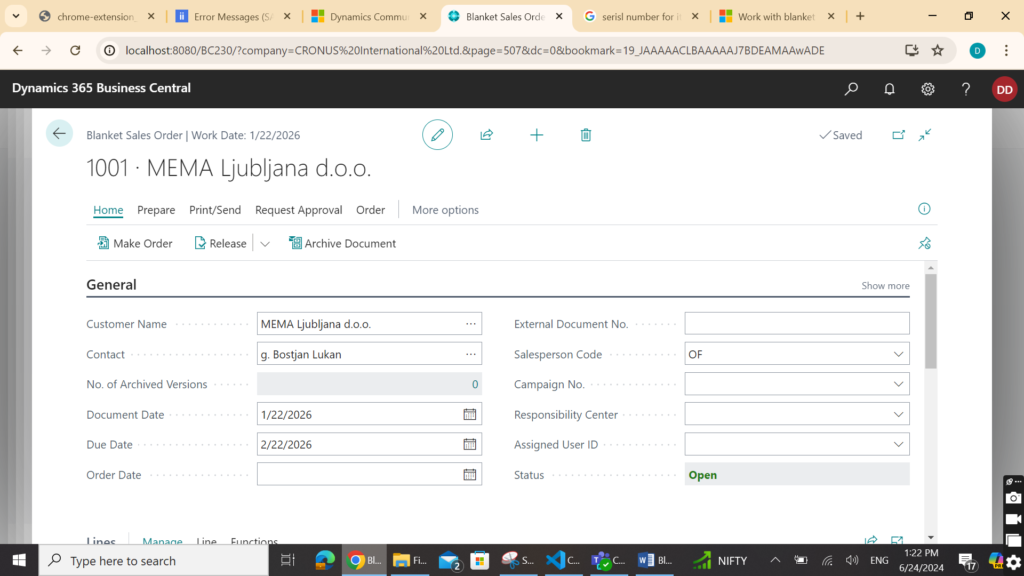
3. Enter customer information and other necessary details.
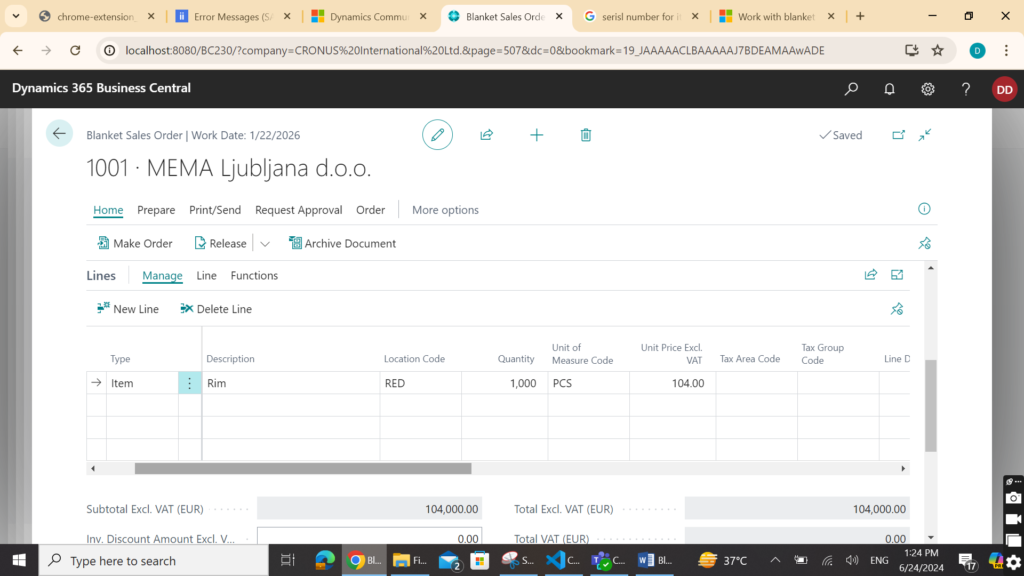
4. Input the items and quantities in Lines FastTab.
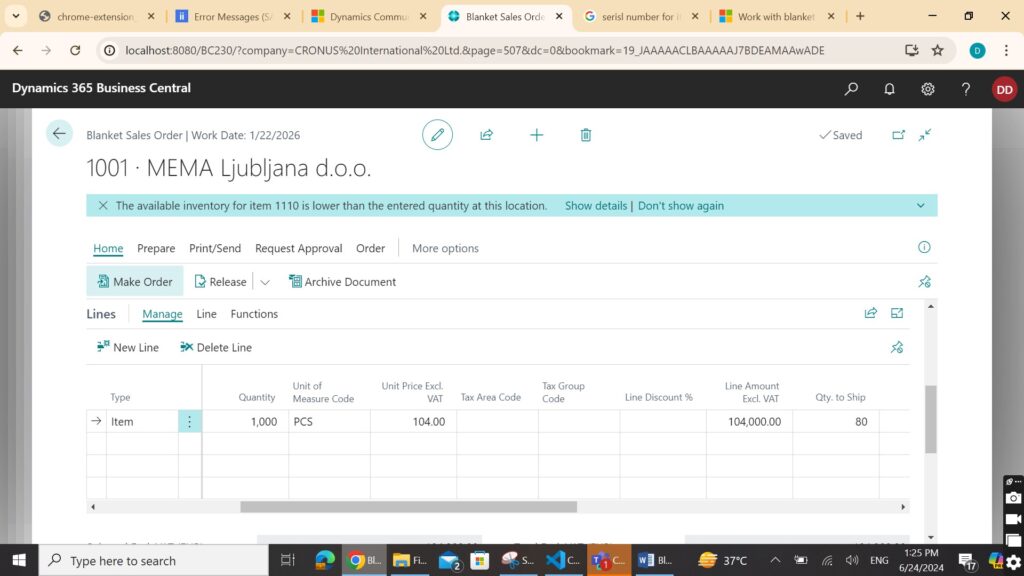
Step 2: Generate Sales Orders
1. Create Sales Orders from BSO
• Update the quantity to ship when the customer requests a shipment.
• Use the “Make Order” action to create a sales order.
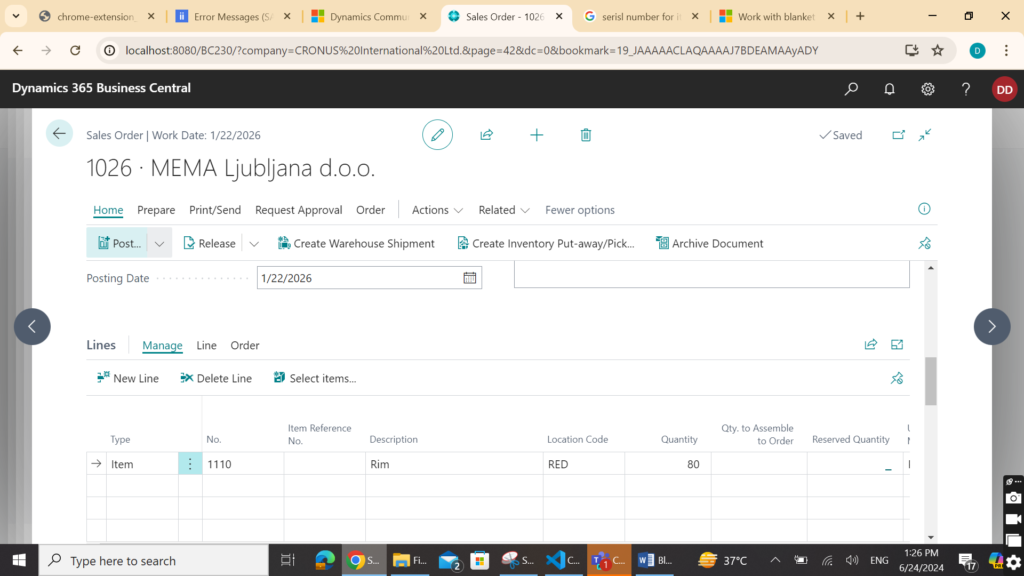
2. Review and Post Sales Orders
• Verify the sales order details and post it once the items are shipped.
Step 3: Track and Manage Shipments
1. Monitor Quantities
• Check the blanket sales order to see the quantities shipped and remaining.
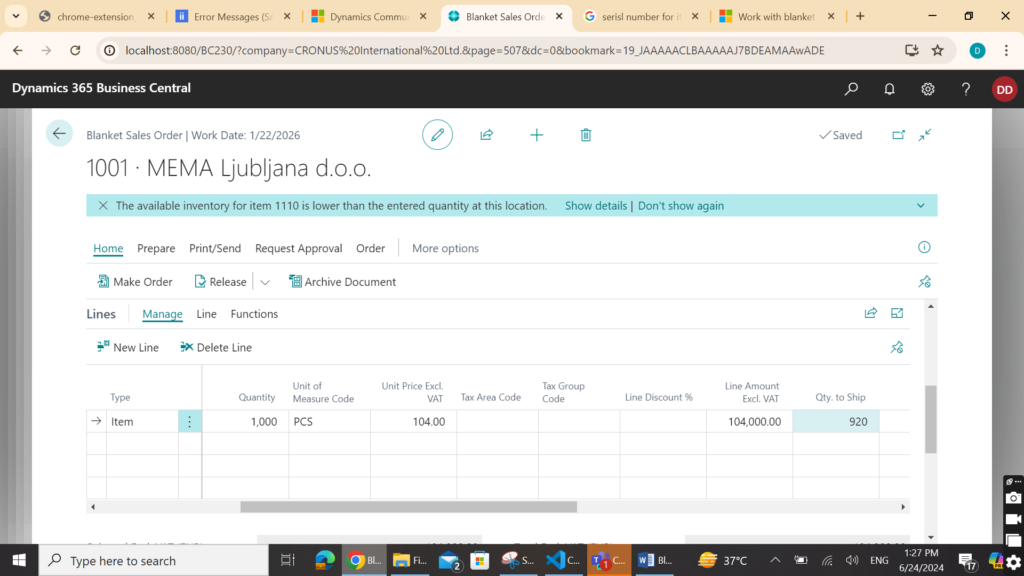
• Adjust future orders as needed.
Step 3: Check Posted or Unposted Sales Orders / Purchase Orders from Blanket Orders
1. Open the required Blanket Sales Order.
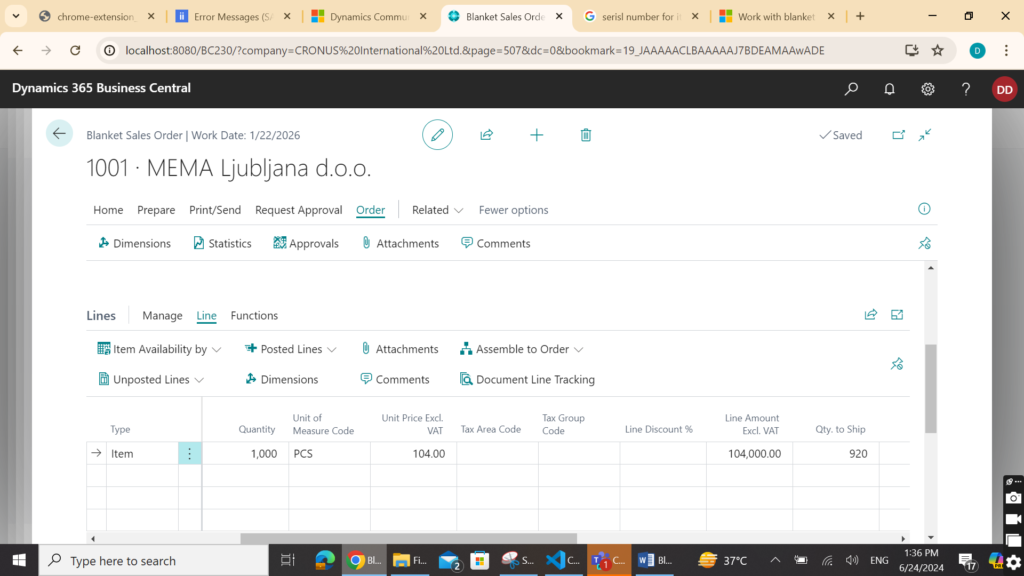
2. For Unposted Entries:
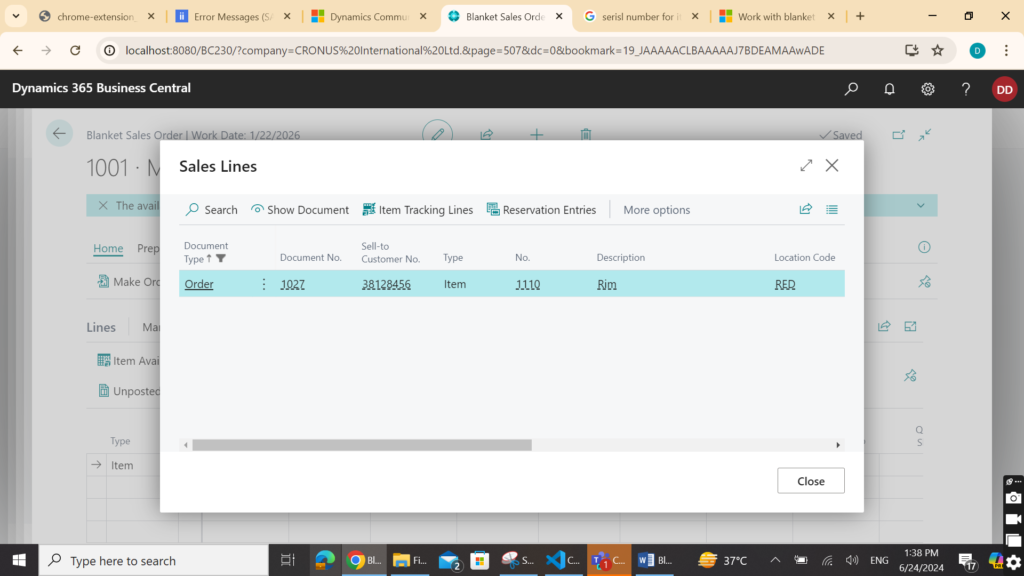
a. In the Lines FastTab, Select Line-> Unposted Lines action, and select the type of document.
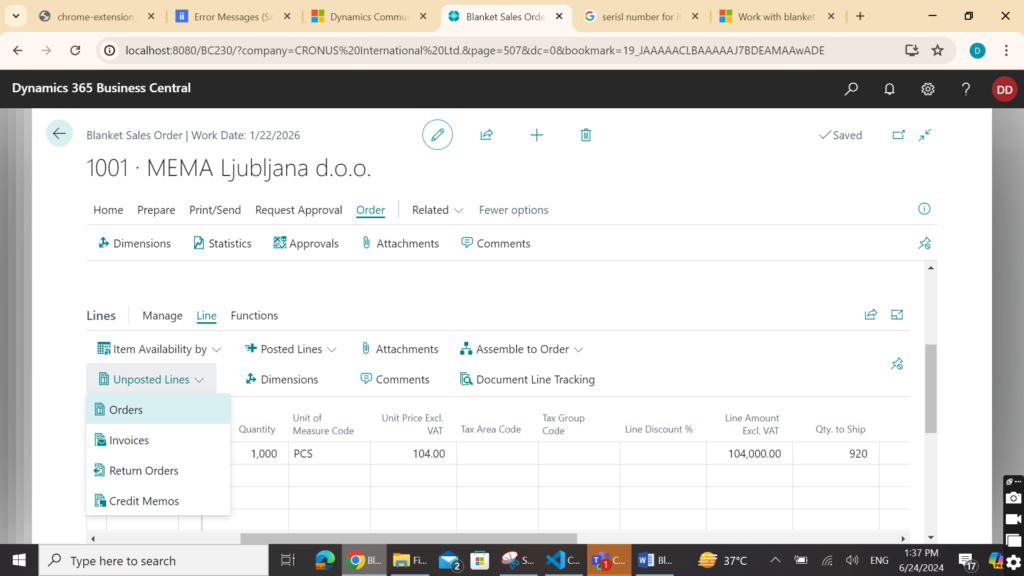
b. The Sales Orders will be shown.
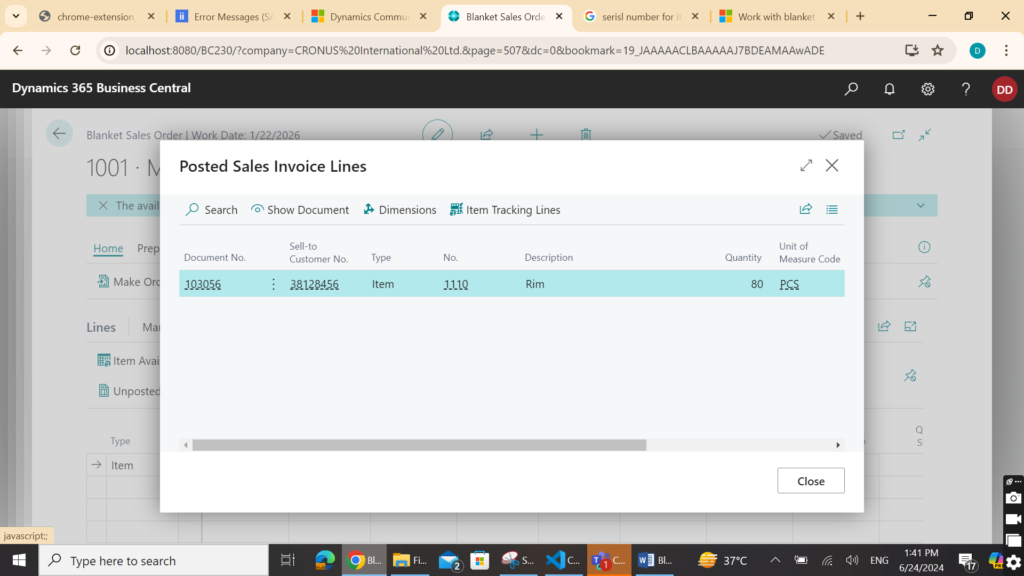
3. For Posted Entries:
a. In the Lines FastTab, Select Line-> Posted Lines action, and select the type of document.\

b. The related Sales Invoices will be shown.
Conclusion
By effectively utilizing blanket purchase orders and blanket sales orders in Business Central, you can streamline your procurement and sales processes, ensuring consistent and efficient operations.
This guide provides a structured approach to setting up and managing these orders, helping you maintain accurate records and fulfil agreements with vendors and customers seamlessly.